
Yeast & Dough – Crock Pot & Sandwich Loaf Breads
go.ncsu.edu/readext?667019
en Español / em Português
El inglés es el idioma de control de esta página. En la medida en que haya algún conflicto entre la traducción al inglés y la traducción, el inglés prevalece.
Al hacer clic en el enlace de traducción se activa un servicio de traducción gratuito para convertir la página al español. Al igual que con cualquier traducción por Internet, la conversión no es sensible al contexto y puede que no traduzca el texto en su significado original. NC State Extension no garantiza la exactitud del texto traducido. Por favor, tenga en cuenta que algunas aplicaciones y/o servicios pueden no funcionar como se espera cuando se traducen.
Português
Inglês é o idioma de controle desta página. Na medida que haja algum conflito entre o texto original em Inglês e a tradução, o Inglês prevalece.
Ao clicar no link de tradução, um serviço gratuito de tradução será ativado para converter a página para o Português. Como em qualquer tradução pela internet, a conversão não é sensivel ao contexto e pode não ocorrer a tradução para o significado orginal. O serviço de Extensão da Carolina do Norte (NC State Extension) não garante a exatidão do texto traduzido. Por favor, observe que algumas funções ou serviços podem não funcionar como esperado após a tradução.
English
English is the controlling language of this page. To the extent there is any conflict between the English text and the translation, English controls.
Clicking on the translation link activates a free translation service to convert the page to Spanish. As with any Internet translation, the conversion is not context-sensitive and may not translate the text to its original meaning. NC State Extension does not guarantee the accuracy of the translated text. Please note that some applications and/or services may not function as expected when translated.
Collapse ▲Making dough and ultimately baking bread can be intimidating, especially if you have never worked with yeast before. Let’s go through some basics before you get started. Then, check out our Cooking with CatieJo videos on a crock pot version and sandwich loaf to try at home!
These recipes, and many I seem to come across, call for active dry yeast. Most people purchase it in little packets, which makes it simple, as many recipes call for “one packet”. However, you can also purchase the little jars of yeast if you believe you will be using it more frequently. Keep it in the fridge between uses! Yeast is alive, and that means you CAN kill it. With active dry yeast, you often need to combine it with warm milk or water and sugar, then allow it to “bloom” for 5-15 minutes. You’ll know it’s blooming when it gets a nice, foamy layer on top. If it doesn’t bloom, either you killed it (it’s okay, you can try again!) or the yeast is too old and no longer alive. If that is the case, you will need to purchase new yeast. You will notice recipes call for “lukewarm” water – what does that actually mean?
Well, remember when I said yeast is alive and you can kill it? Lukewarm is warmer than room temp but not scalding. If it is too hot, the water or milk will kill the yeast. Ideal temperature to promote blooming is 105-110 degrees F. Promoting yeast growth is slightly cooler, but we’re more concerned with activating the yeast, which is what is happening when it blooms. How do you know what your water temperature is? Pull out a calibrated thermometer and set it inside the liquid to test it.
Now that you know what the water temp is, you’ve combined your yeast, and it is in the process of blooming, you are on your way to making some seriously delicious homemade bread!
The crock pot recipe, we tested with hand-kneading. It can be difficult and potentially exhausting if you are not familiar with it. It takes practice. You can also use a stand mixer with a dough hook attachment. The dough should no longer be sticky once kneading is complete. To be totally transparent, mine was still slightly sticky for both recipes, even after adding a couple more teaspoons of flour in the mixture. I went with it, and personally, I think it turned out delicious anyways.
Some dough tricks: keep your fingers (and hands) floured up! Keep your surface floured up! Keep any tools you might be using floured up! It will help tremendously to reduce how much the dough sticks to other surfaces. Speaking of which, when you put the dough in a bowl or loaf pan to proof, be sure to grease the entire bowl/pan. It appears small when you put it in, but remember that proofing causes the dough to rise. We want the proofing area to be fully greased to help it come back out easily. Also, when you cover with saran wrap, especially for loaf pans, be sure the wrap is greased well! You’ll see in our Sandwich Loaf video that I forgot this step, and one of the loaves proofed up, touching the wrap. This was a big mess when peeling it off and resulted in a not-as-pretty finished loaf, though still very tasty.
Proofing can be finicky also. You will need a fairly warm, draft-free place. If you live in an old home, like I do, draft-free is difficult to find. Find your space as best you can and leave the pan alone the entire time it is proofing. If it is moved around, it could cause the dough to settle and lose some of it’s proof, which would then cause it to not rise as well when baking.
Now, for the fun stuff.
Check out our Crock Pot Yeast Bread and Sandwich Loaf Bread videos on our N.C. Cooperative Extension of Hyde County – Family & Consumer Sciences Facebook Page!
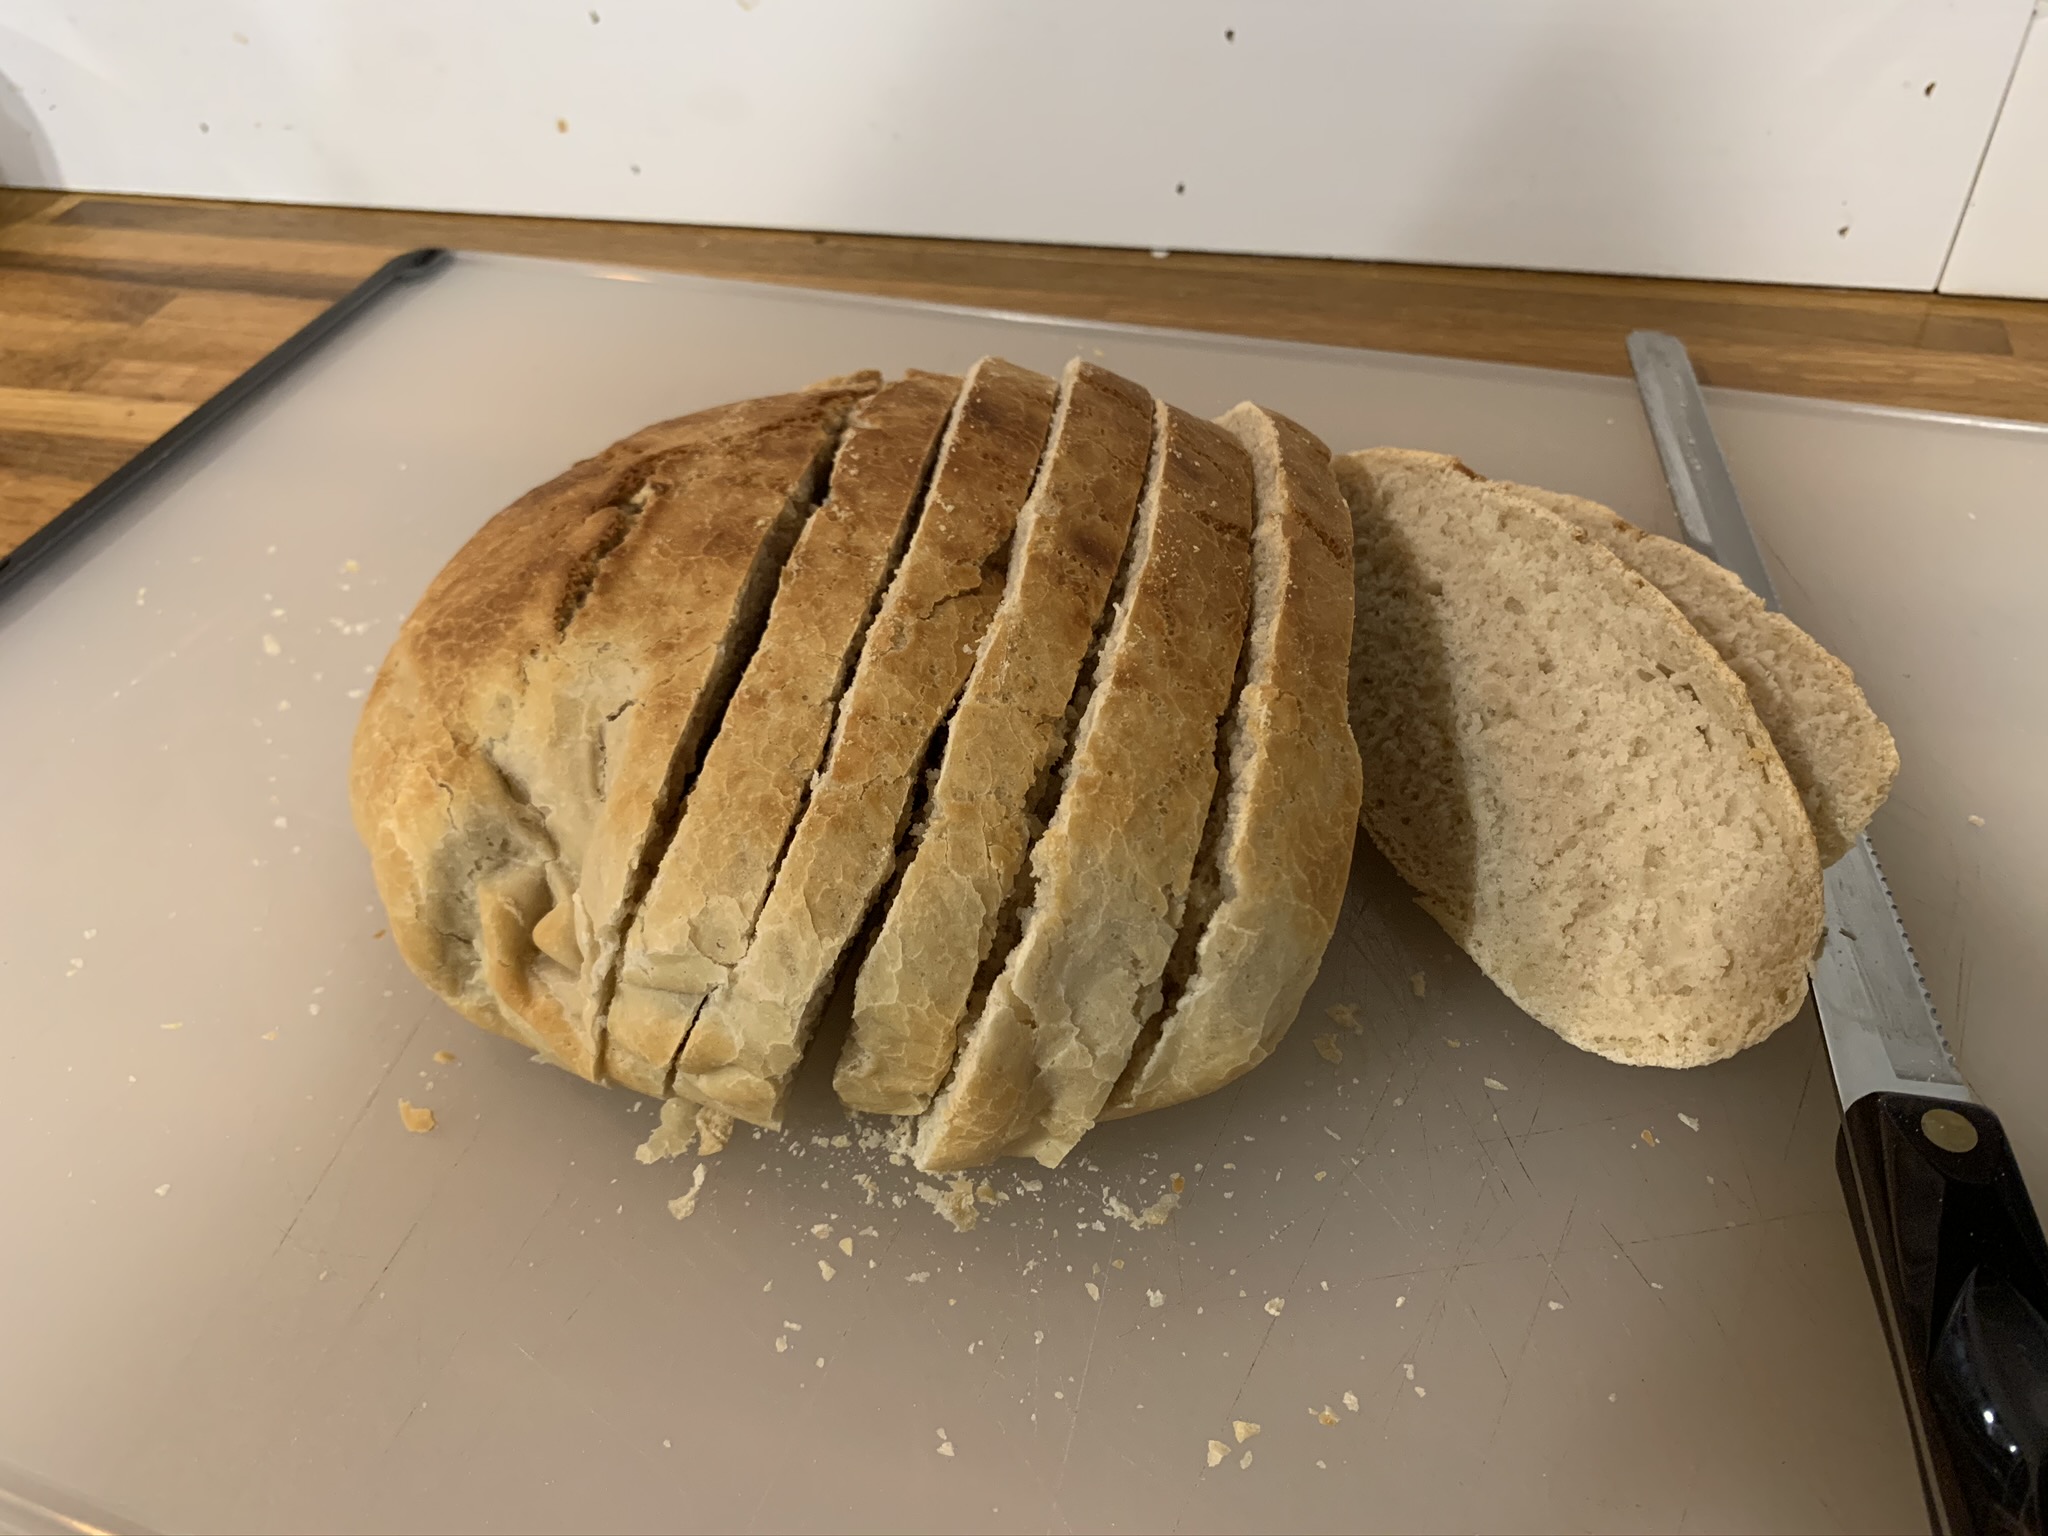
Crock pot yeast bread
Our Crock Pot Yeast Bread recipe is adapted from Tasty’s Rosemary Slow Cooker Bread recipe. We did not use any rosemary, in the mix or on top; we used the broil setting on the oven instead of preheating to 500 degrees (broil in this oven = 500 degrees anyways) and let it crisp up for 4-5 minutes. If using the broiler, be sure to check it often as it can go from perfectly crusty to burnt very quickly.
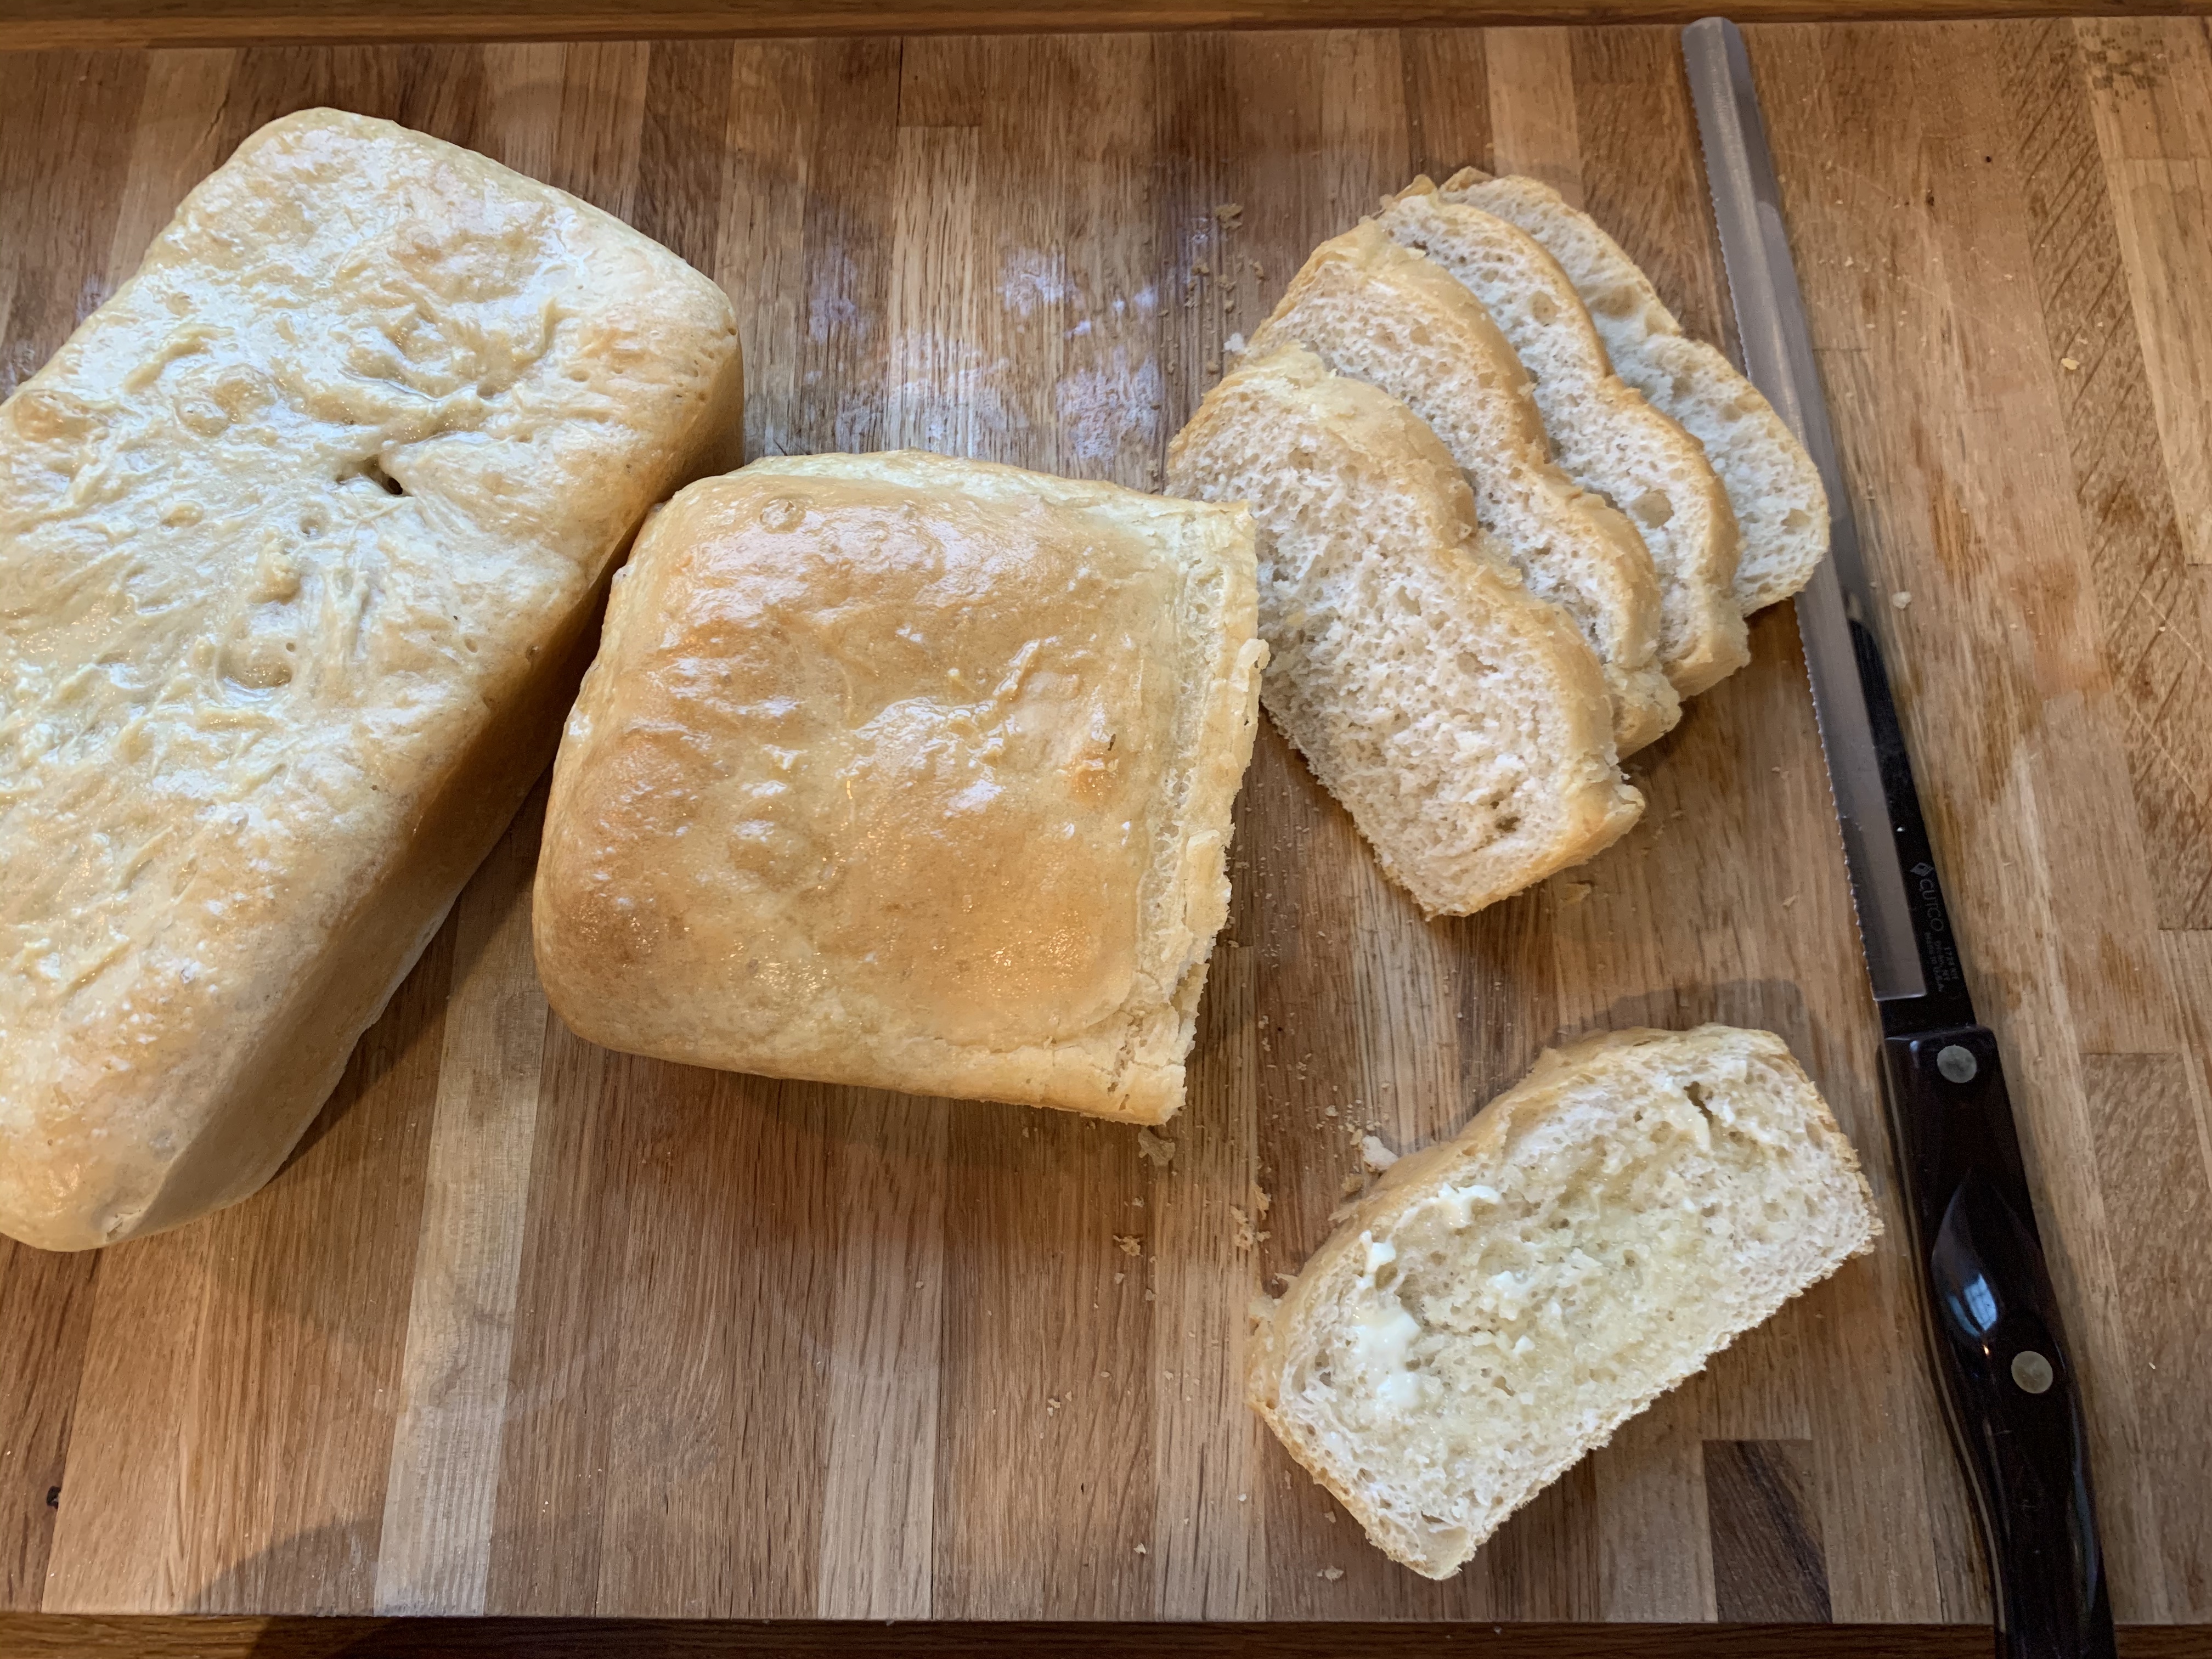
Sandwich yeast loaf
Our Sandwich Loaf Bread is from Plated Craving’s White Bread recipe. She uses instant yeast, but I used active dry yeast (ADY). The only difference is that the ADY needed a little bit longer to bloom than instant yeast may need. The base recipe makes two loaves in 8″x4″ loaf pans. This is the size we had, and it worked great. Be aware that they will not create very large, “normal” size sandwich loaves though. If you bake it in the one 9″x5″, it will likely be closer to that. She also mentions doubling the recipe for two large loaves in the 8″x4″. With this recipe, be sure you only press down the dough once it is divided in two. It should not be rolled out or kneaded again at that point. I used little pieces of masking tape on the counter to help guide me in how big to press out the two pieces of dough.
And remember, yeast can be a great ingredient to integrate into your meals! It can also take some practice. If you make a loaf or two, and they don’t turn out how you imagined, think about the steps. Was the yeast new and fully activated? How did proofing go? A cold, windy day may make it more difficult than a warm, humid day. If it doesn’t work out, try again! Or, try a different recipe! There are HUNDREDS of bread recipes. Some are made in loaf pans, some on a pizza stone or baking sheet, some in a crock pot, some in a dutch oven, and others with no yeast at all. Play around and find what you and your family enjoy making and eating!!